A Kotlin Android Multi-Window Split-Screen and Freeform Tutorial
| Previous | Table of Contents | Next |
| An Introduction to Android Multi-Window Support | An Overview of Android SQLite Databases |
With the basics of Android multi-window support covered in the previous chapter, this chapter will work through the steps involved in implementing multi-window support within an Android app. This project will be used to demonstrate the steps involved in configuring and managing both split-screen and freeform behavior within a multi-activity app.
Creating the Multi-Window Project
Start Android Studio and create a new project, entering MultiWindow into the Application name field and ebookfrenzy.com as the Company Domain setting before clicking on the Next button.
On the form factors screen, enable the Phone and Tablet option and set the minimum SDK setting to API 24: Android 7.0 (Nougat). Continue through the remaining setup screens, requesting the creation of an Empty Activity named FirstActivity with a corresponding layout file named activity_first.
Designing the FirstActivity User Interface
The user interface will need to be comprised of a single Button and a TextView. Within the Project tool window, navigate to the activity_first.xml layout file located in app -> res -> layout and double-click on it to load it into the Layout Editor tool. With the tool in Design mode, select and delete the Hello World! TextView object.
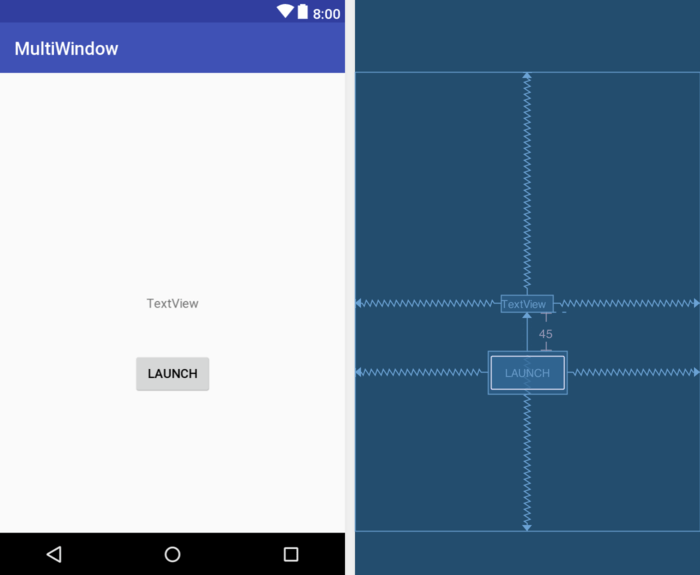
With Autoconnect mode enabled in the Layout Editor toolbar, drag a TextView widget from the palette and position it in the center of the layout. Next, drag a Button object and position it beneath the TextView. Edit the text on the Button so that it reads “Launch”. If any constraints are missing from the layout, simply click on the Infer Constraints button in the Layout Editor toolbar to add them. On completion of these steps, the layout should resemble that shown in Figure 61-1:
In the attributes panel, change the widget ID for the TextView to myTextView and assign an onClick property to the button so that it calls a method named launchIntent when selected by the user.
Adding the Second Activity
The second activity will be launched when the user clicks on the button in the first activity. Add this new activity by right-clicking on the com.ebookfrenzy.multiwindow package name located in app -> java and select the New -> Activity -> Empty Activity menu option to display the New Android Activity dialog.
Enter SecondActivity into the Activity Name and Title fields and name the layout file activity_second. Since this activity will not be started when the application is launched (it will instead be launched via an intent by FirstActivity when the button is pressed), it is important to make sure that the Launcher Activity option is disabled before clicking on the Finish button.
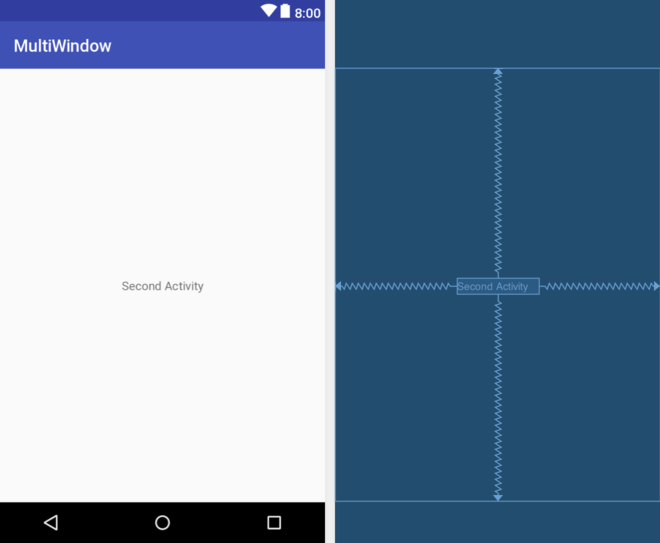
Open the layout for the second activity (app -> res -> layout -> activity_second.xml) and drag and drop a TextView widget so that it is positioned in the center of the layout. Edit the text of the TextView so that it reads “Second Activity”:
Launching the Second Activity
The next step is to add some code to the FirstActivity.kt class file to implement the launchIntent() method. Edit the FirstActivity.kt file and implement this method as follows:
package com.ebookfrenzy.multiwindow
.
.
import android.content.Intent
import android.view.View
.
.
class FirstActivity : AppCompatActivity() {

    override fun onCreate(savedInstanceState: Bundle?) {
        super.onCreate(savedInstanceState)
        setContentView(R.layout.activity_first)
    }

    fun launchIntent(view: View) {
        val i = Intent(this, SecondActivity::class.java)
        startActivity(i)
    }
}
Compile and run the app and verify that the second activity is launched when the Launch button is clicked.
Enabling Multi-Window Mode
Edit the AndroidManifest.xml file and add the directive to enable multi-window support for the app as follows:
<?xml version="1.0" encoding="utf-8"?>
<manifest xmlns:android="http://schemas.android.com/apk/res/android"
    package="com.ebookfrenzy.multiwindow">

    <application
        android:allowBackup="true"
        android:icon="@mipmap/ic_launcher"
        android:label="@string/app_name"
        android:supportsRtl="true"
        android:theme="@style/AppTheme">
        <activity
            android:name=".FirstActivity"
            android:resizeableActivity="true">
            <intent-filter>
                <action android:name="android.intent.action.MAIN" />

                <category
                  android:name="android.intent.category.LAUNCHER" />
            </intent-filter>
        </activity>
        <activity android:name=".SecondActivity"></activity>
    </application>

</manifest>
Note that, at the time of writing, multi-window support is enabled by default. The above step, however, is recommended for the purposes of completeness and to defend against the possibility that this default behavior may change in the future.
Testing Multi-Window Support
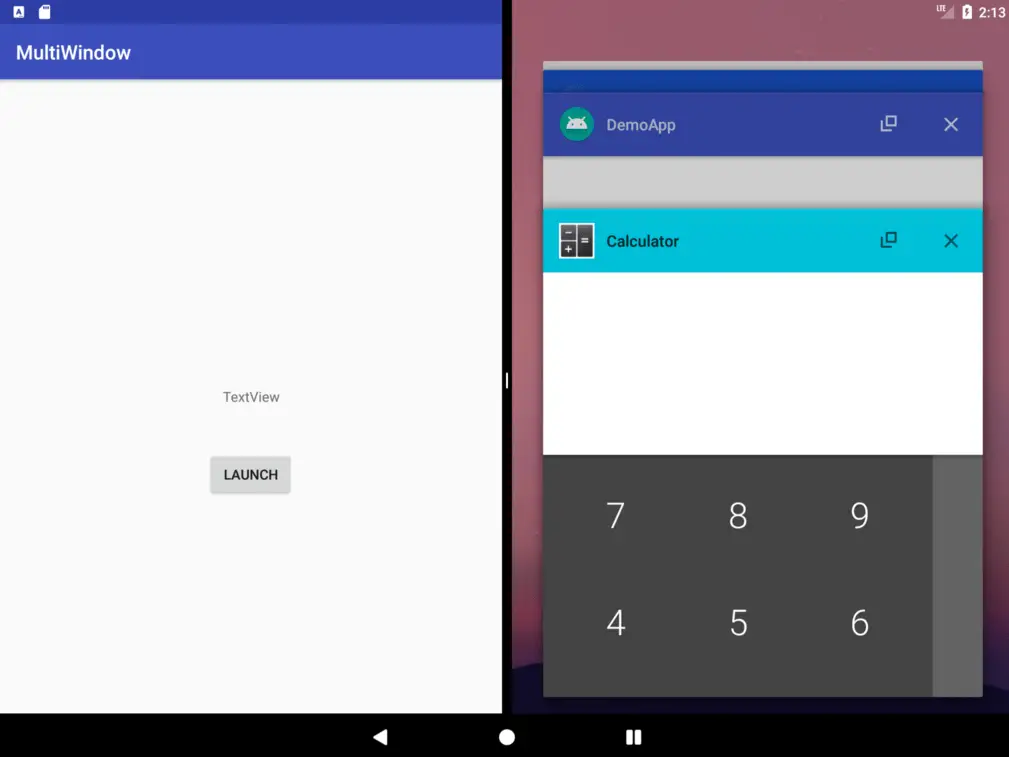
Build and run the app once again and, once running, press and hold the Overview button as outlined in the previous chapter to switch to split-screen mode. From the Overview screen in the second half of the screen, choose an app to appear in the adjacent panel:
Click on the Launch button and note that the second activity appears in the same panel as the first activity.
If the app is running on a device or emulator session that supports freeform mode, or on which freeform mode has been enabled as outlined in the previous chapter, press and hold the Overview button a second time until multi-window mode exits. Click in the Overview button once again and, in the resulting Overview screen, select the freeform button located in the title bar of the MultiWindow app as outlined in Figure 61-4:
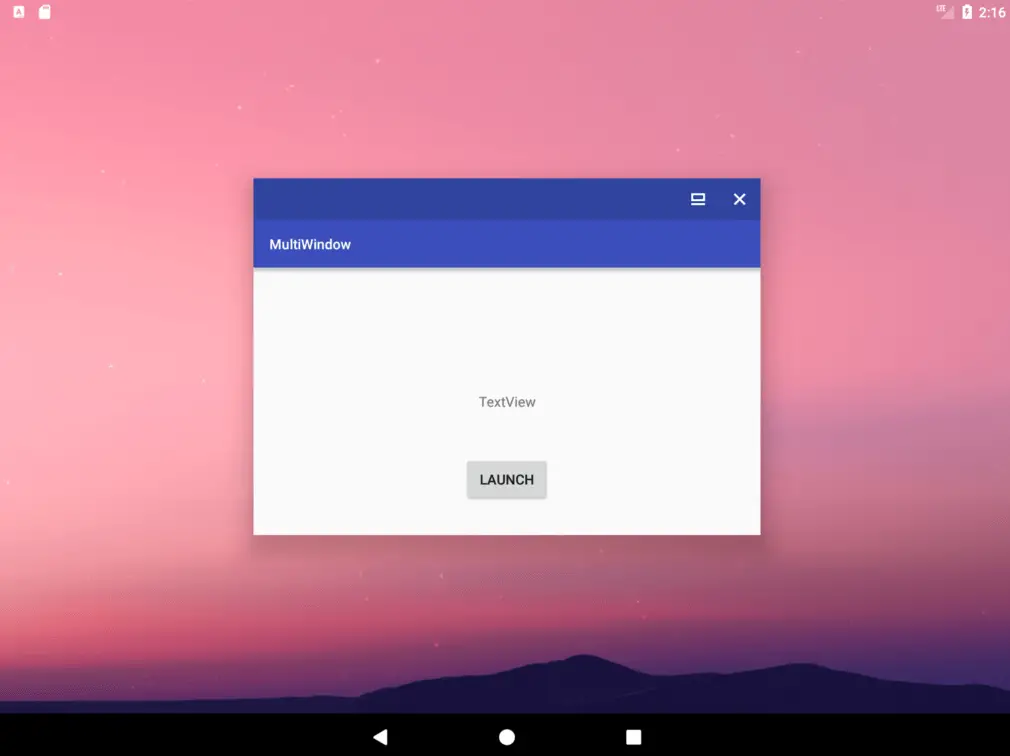
Once selected, the activity should appear in freeform mode as illustrated in Figure 61-5:
Click on the Launch button and note that, once again, the second activity appears in place of the first rather than in a separate window.
In order for the second activity to appear in a different split-screen panel or freeform window, the intent must be launched with the appropriate flags set.
Launching the Second Activity in a Different Window
To prevent the second activity from replacing the first activity the launchIntent() method needs to be modified to launch the second activity in a different task stack as follows:
fun launchIntent(view: View) {
    val i = Intent(this, SecondActivity::class.java)

    i.addFlags(Intent.FLAG_ACTIVITY_LAUNCH_ADJACENT or
            Intent.FLAG_ACTIVITY_MULTIPLE_TASK or
            Intent.FLAG_ACTIVITY_NEW_TASK)

    startActivity(i)
}
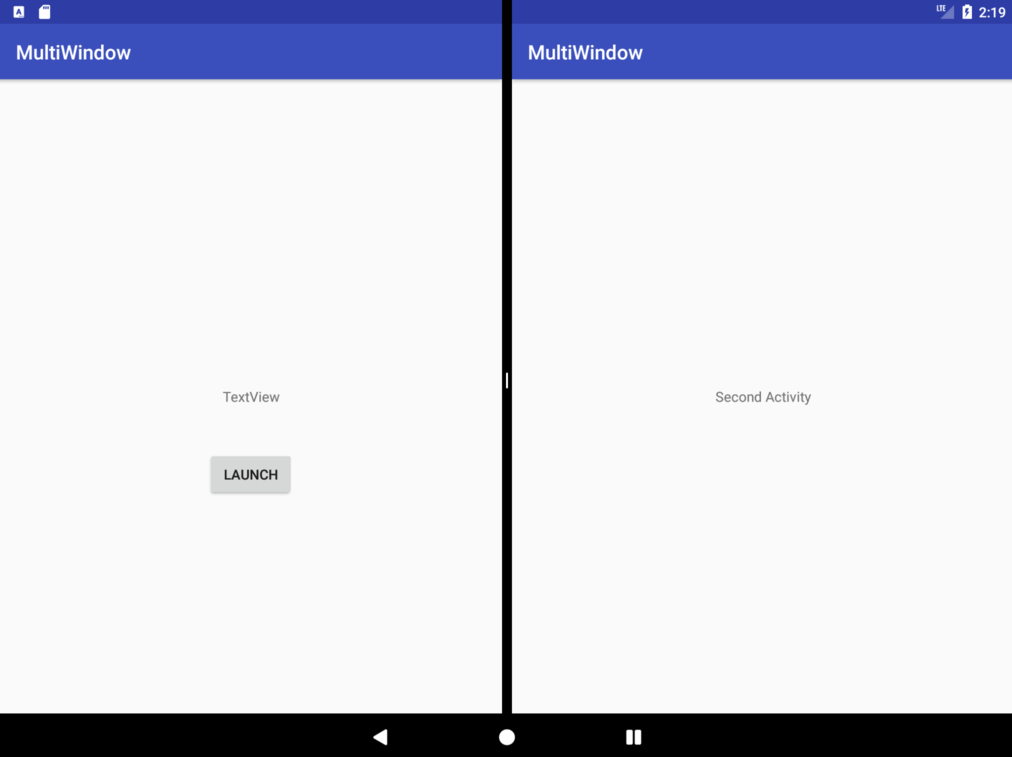
After making this change, rerun the app, enter split-screen mode and launch the second activity. The second activity should now appear in the panel adjacent to the first activity:
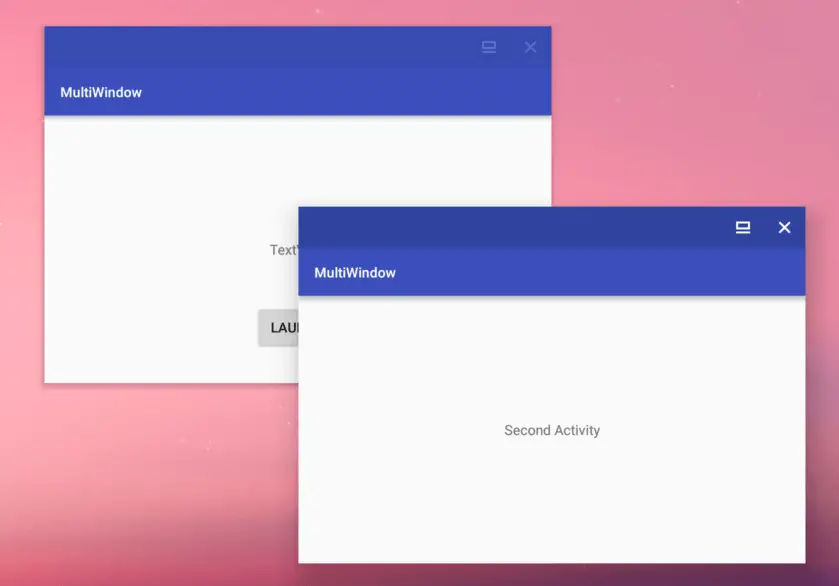
Repeat the steps from the previous section to enter freeform mode and verify that the second activity appears in a separate window from the first as shown in Figure 61-7:
Summary
This chapter has demonstrated some of the basics of enabling and working with multi-window support within an Android app through the implementation of an example project. In particular, this example has focused on enabling multi-window support and launching a second activity into a new task stack.
| Previous | Table of Contents | Next |
| An Introduction to Android Multi-Window Support | An Overview of Android SQLite Databases |


