Connecting an Ubuntu Linux System to a DSL Modem
| Previous | Table of Contents | Next |
| Configuring Ubuntu Linux Printers | Updating Ubuntu Linux |
This chapter covers the configuration of Ubuntu Linux to connect to the internet via a broadband DSL modem. Before proceeding with this chapter, it is important to understand the dangers of connecting a system directly to a DSL modem. Once the connection is established the Ubuntu Linux system will be directly visible to anyone on the internet. It is important to ensure that you have a firewall installed and running on the system to protect it from outside attack. The Firestarter firewall provides a easy to use and flexible firewall configuration environment. Before reading this chapter we recommend first reading the Using Firestarter to Configure an Ubuntu Linux Firewall chapter of this book.
Making the Connections
Before configuring Ubuntu to connect to your DSL provider the first step is to make the physical connections. First connect the DSL modem to the phone outlet. Be sure to install DSL filters on any outlets to which phones or fax machines are attached. Finally connect the DSL modem to the network adapter of your PC using the network cable supplied with your modem.
Configuring Ubuntu Linux to Connect to a DSL modem
sudo pppoeconf
If pppoeconf cannot be found install it using the following command:
sudo apt-get install pppoeconf
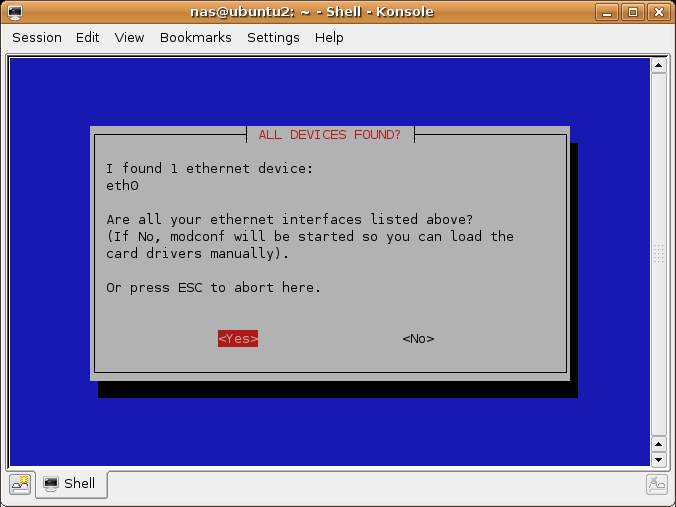
Once installed execute sudo ppoeconf command again to view the initial screen:
Press Enter top begin the process. pppoeconf will scan your network devices until it finds a modem and then prompt you to enter the information provided to you by your DSL provider. Enter this information and exit pppoeconf.
Establishing a DSL Connection
Once configured, the DSL connection is established using the pon utility. To establish the connection, execute the following command from a terminal window:
sudo pon dsl-provider
You are now connected to the DSL connection.
Disconnecting from a DSL Connection
The poff utility is used to close the connection to a DSL provide. To break the connection run the following command:
sudo poff


