Logging into the Ubuntu GNOME Desktop
| Previous | Table of Contents | Next |
| About Ubuntu Desktop Essentials | A Guided Tour of the Ubuntu GNOME Desktop |
The Ubuntu GNOME Login Screen
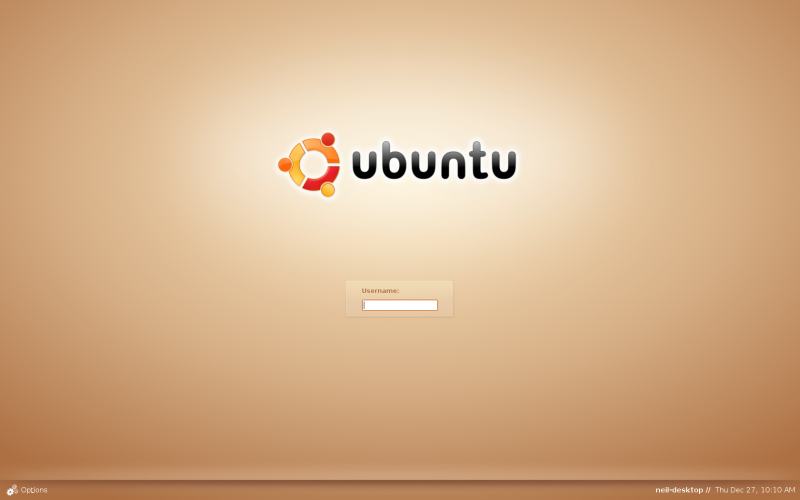
When you first boot from an Ubuntu Linux installation you will most likely be presented with a Login Screen similar to the one shown in the following figure. If, on the other hand, you have booted from the Ubuntu Live CD, the first thing you will see after the system has loaded will be the GNOME desktop which is described in the following section of this chapter.
Assuming you are booting from an installed Ubuntu system, the login screen should appear as follows:
<google>ADSDAQBOX_FLOW</google>
This screen has a number of options and text fields that give the user some level of control over what happens next:
- Username: - The user login name in this field. Once the name of the user to be logged in has been entered, press the Enter or Tab key to display the Password prompt.
- Password: - This input field only appears after a user name has been typed into the Username: field. Once the password has been entered, press the Enter or Tab key to initiate the login process.
- Options - Located in bottom left hand corner of the login screen, this button presents a menu of options when selected:
- Select Language - Invokes a list of alternative languages supported by the desktop environment. If your preferred language is not the current default language, select it from the extensive list and click on Change Language to apply the selection.
- Select Session - Allows selection of the type of session to be started on successful login. A number of options are provided including safe and terminal modes which are useful for resolving problems with desktop startup. The desktop also allows users to configure and save their own sessions so that specified applications start automatically each time the user logs in.
- Restart - Reboots the system. If this option is selected the system will display a confirmation window verifying the system is to be restarted before doing so.
- Shut Down - Shuts the system down to its powered off state. As with the Reboot option, confirmation will be sought before the shutdown proceeds.
- Suspend - Places the system in stand-by power saving mode.
- Remote Login via XDMCP - Connects to a remote desktop using the X Display Manager Control Protocol. If selected, this menu option will scan the network for other systems running the XDMCP protocol. Any systems located will be listed and made available for connection.
To login enter the appropriate user name and password.
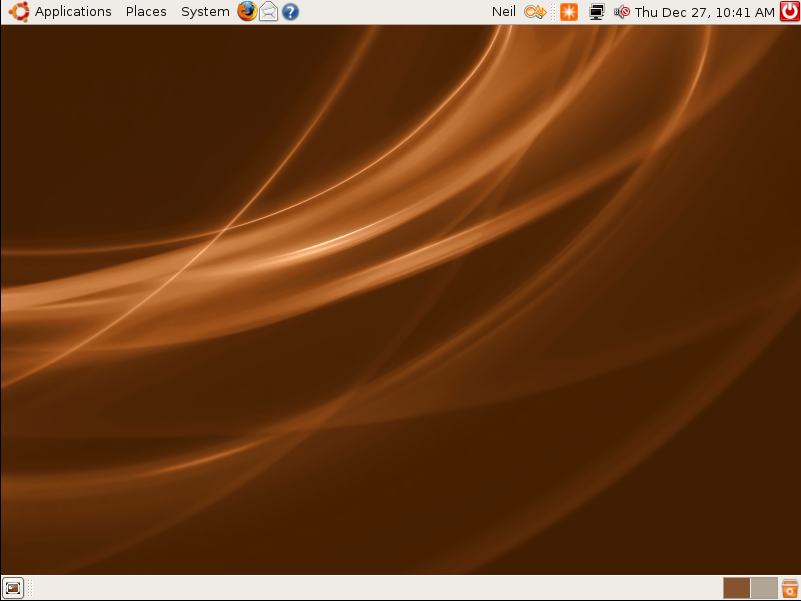
Assuming you have now logged successfully into a Ubuntu GNOME Desktop session, and have a screen in front of you similar to the one shown above we can begin to explore the desktop in more detail in the chapter entitled A Guided Tour of the Ubuntu GNOME Desktop.
| Previous | Table of Contents | Next |
| About Ubuntu Desktop Essentials | A Guided Tour of the Ubuntu GNOME Desktop |

