Difference between revisions of "Building a Visual Basic Status Bar"
m (Text replacement - "<table border="0" cellspacing="0">" to "<table border="0" cellspacing="0" width="100%">") |
|||
| (5 intermediate revisions by the same user not shown) | |||
| Line 8: | Line 8: | ||
| − | < | + | <htmlet>vbasic</htmlet> |
| Line 26: | Line 26: | ||
| − | < | + | <htmlet>adsdaqbox_flow</htmlet> |
[[Image:visual_basic_status_bar_running.jpg| Visual Basic Application with Status Bar]] | [[Image:visual_basic_status_bar_running.jpg| Visual Basic Application with Status Bar]] | ||
| − | < | + | <htmlet>vbasic</htmlet> |
Latest revision as of 19:55, 27 October 2016
| Previous | Table of Contents | Next |
| Building a Visual Basic Toolbar | Visual Basic Modules and Procedures |
| Purchase and download the fully updated Visual Basic 2010 edition of this eBook in PDF and ePub for only $9.99 |
The status bar provides a location for the application developer to convey information to the user about what is happening in an application. For example, when an application is reading a file the status bar might display text which reads "Opening file....". Many applications provide a status bar across the bottom of forms and this is often where a user will look for feedback on what an application is doing. For this reason alone, it is well worth learning how to add a status bar to your applications.
Adding a Status Bar to a Visual Basic Application
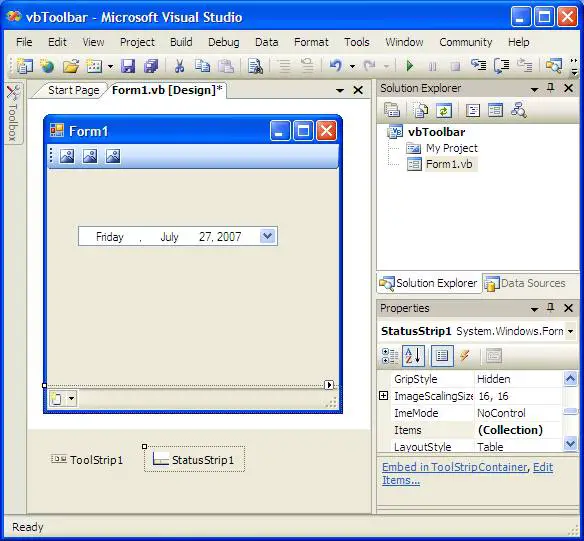
Status bar functionality is provided by the Visual Basic StatusStrip control. To add a status bar to a form, therefore, locate the StatusStrip control in the Menus and Toolbars section of the Visual Studio Toolbox and double click on it to add it to the current selected form. The StatusStrip will appear running along the bottom of the form:
Adding Items to a Status Bar
When a StatusStrip has been added to a form it will display a single button which, when clicked, drops down a list of new control types which can be added to the status bar (SplitButton, ProgressBar, StatusLabel, DropDownButton). Select a StatusLabel from the menu. Next, select the StatusLabel you added and change the Text property in the Properties panel to Ready.
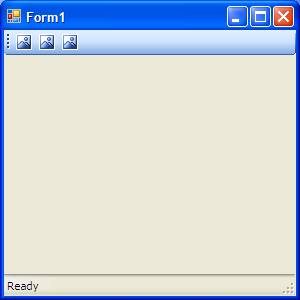
Press F5 to build and run the application. When the application runs the new StatusStrip should appear containing the StatusLabel with the specified text:

| Purchase and download the fully updated Visual Basic 2010 edition of this eBook in PDF and ePub for only $9.99 |


